Helicopter Photography Tips: How to Get the Best Shots
You get 12 to 15 minutes in the air, no chance for a second take, and you are shooting through a curved window while the helicopter banks and vibrates. Aerial photography over Victoria Falls is not hard, but it rewards a little preparation. Here is what actually works.
The One Thing Most People Get Wrong
They shoot at too slow a shutter speed. A helicopter vibrates constantly, and even a steady hand cannot cancel that out. People set the camera to aperture priority, the shutter drops to 1/125 in the spray-softened light, and every frame comes back subtly soft. They blame the camera. It was the shutter speed.
Fix it before you take off. Use shutter priority, marked S or Tv, and set at least 1/1000 of a second. Faster if the light allows. This freezes both the airframe vibration and your own movement. It is the single biggest difference between sharp aerial shots and blurry ones, and almost nobody thinks about it until they are already in the air.
Beat the Window Reflections
Most flights are through a closed window, and reflections are the second thing that ruins shots. Two habits solve almost all of it.
- Wear dark clothing. A bright shirt bounces straight off the glass and into your frame. Dark colours disappear in the reflection. This is the tip experienced shooters swear by and first-timers never hear.
- Get your lens as close to the window as you can without touching it, so the glass sits right against the lens hood. This blocks side light from creeping in between the lens and the pane. Cupping your free hand around the lens helps too.
Touching the lens to the glass is tempting but risky, because the vibration transfers straight into your shots. Keep it a few millimetres off and let the hood do the shading.
Skip the Polarising Filter
This surprises people. A polariser is usually great for cutting glare, but shooting through a curved aircraft window it can create uneven dark bands and strange colour shifts across the frame. Take it off before you fly. If you are shooting through an open door or a bubble window it matters less, but for a standard closed-window flight, leave the polariser in your bag.
Camera Settings That Work
Keep it simple so you are not fiddling mid-flight. Set this up on the ground before you board:
- Shutter priority at 1/1000 second or faster.
- Auto ISO with an upper limit around 1600, so the camera keeps the shutter fast without piling on noise.
- Continuous autofocus (AF-C or AI Servo), because you and the subject are both moving.
- Burst mode, so you can fire several frames per composition and keep the sharpest.
A mid-range zoom of roughly 24-70mm equivalent is ideal. Wide enough to catch the full width of the falls and the gorge, with a little reach for tighter details. Leave the heavy telephoto at the hotel. You rarely need it and it is awkward to handle against the glass.
Shooting on a Phone
Phones do well up here, and the same rules apply. Turn off the flash so it does not bounce off the window. Press the lens flush against the glass. Tap to lock focus and exposure on the falls rather than the bright sky, which otherwise fools the meter and leaves the water dark. If your phone has a burst or action mode, use it. Modern phones handle the fast shutter automatically once you have solved the reflection problem.
Composition: What to Actually Frame
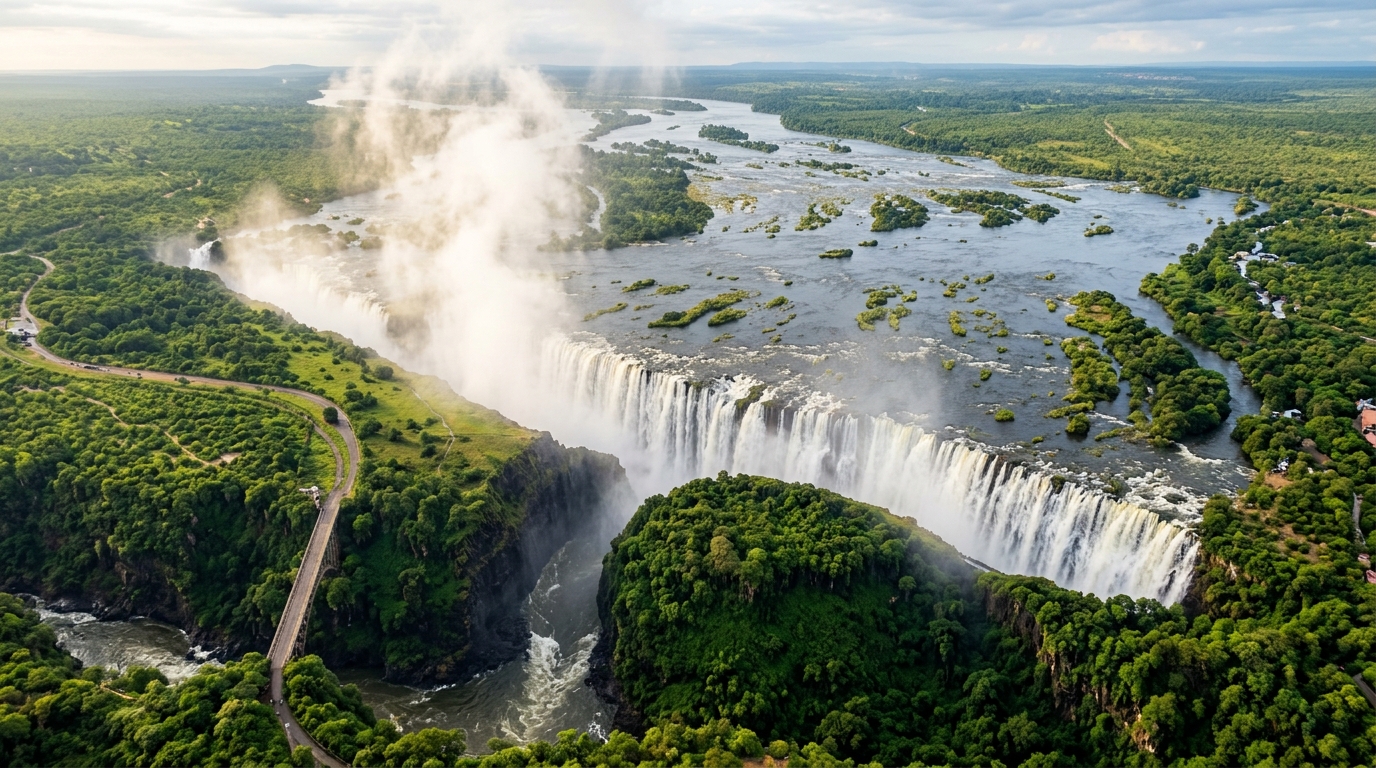
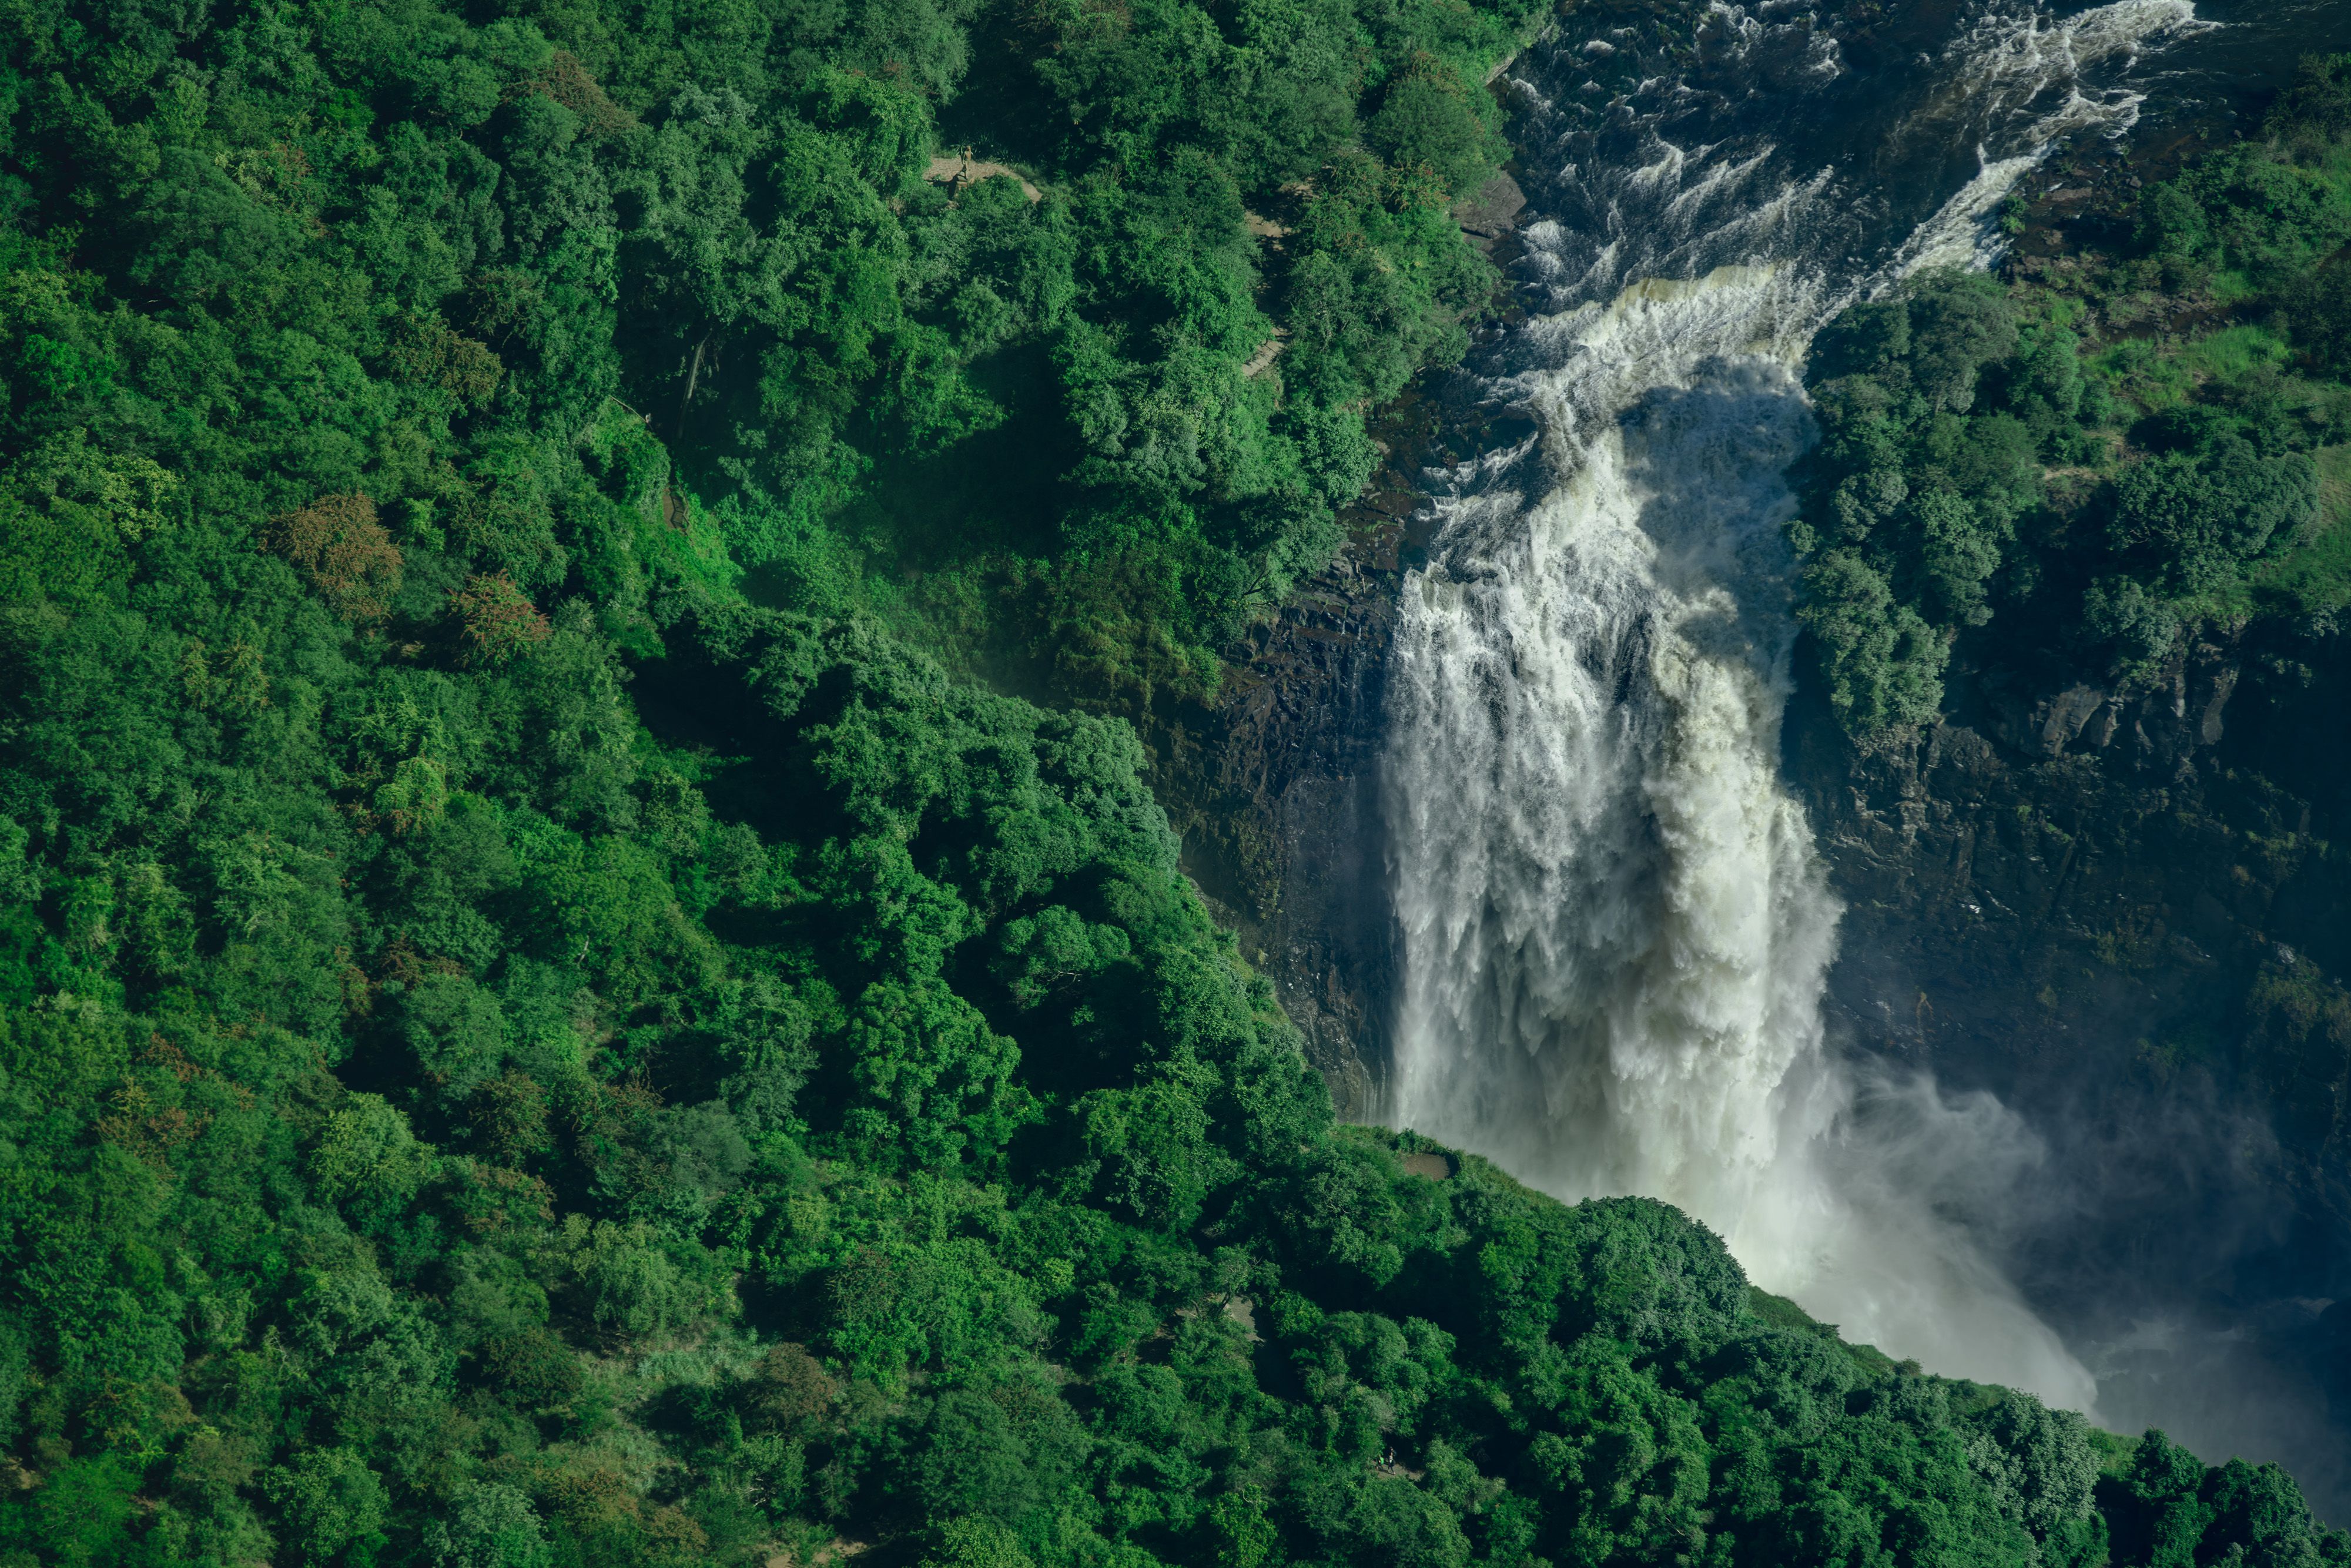
It is easy to point the camera at the water and fire away, but the strongest shots usually have a bit of structure. Include the lip of the falls where the Zambezi tips over, so there is a clear line leading the eye. Catch the rainbow if the light is behind you. And leave a little of the gorge or the surrounding bush in the frame for scale, because a wall of white water with no reference looks smaller than it felt.
Pick Your Season for the Shot You Want
Season changes the picture entirely. High water, roughly February to May, gives enormous volume and a dramatic spray cloud, though on the biggest days the mist can partly veil the falls. Low water, around September to December, reveals the gorge, the rock structure, and the river at the bottom, with clearer air for crisp shots. Neither is better. They are two different photographs, and it is worth knowing which one you are flying into.
Seat and Timing
Where you sit matters less than you think, because the pilot banks the helicopter in a figure-eight so both sides get clear passes over the falls. A front seat gives the best forward view, but every seat sees the main event. If you can request a side, ask. If not, do not stress about it.
Do Not Forget to Look
Last one, and it matters. The flight is short. Do not spend all 13 minutes with a screen in front of your face. Get your settings dialled in on the ground, take your shots in the first couple of passes, then put the camera down and watch the falls with your own eyes for a minute. That is the part you will actually remember.
Ready to Book Your Flight?
Compare durations and prices, then pick the flight that gives you the views you want to photograph.